
USB Keyboard Not Connecting? Fixes Plus On-Screen Keyboard Tips
If your USB keyboard suddenly goes dead right when you need to save a document or log in, the first thing to do isn't repair—it's to secure temporary input with the on-screen keyboard. This article starts with how to type immediately when you're in a hurry, then organizes fixes by cause in order: direct USB-port connection, cable checks, Device Manager, power management, BIOS settings, and wireless dongles. Most can be solved on your own in 30 seconds to 5 minutes.
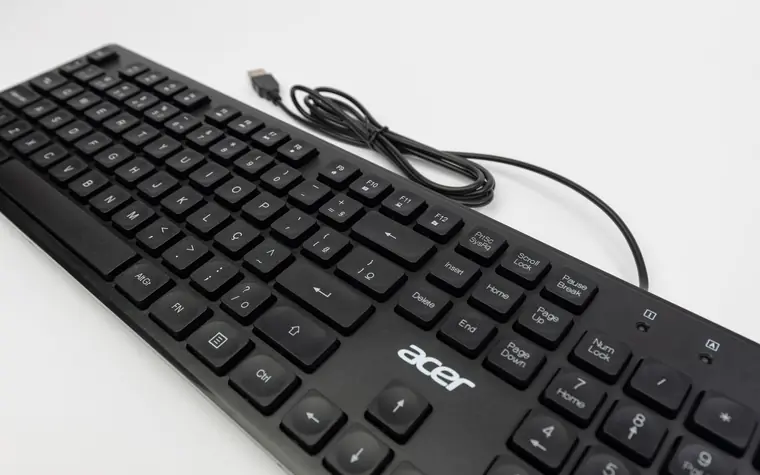
When You're in a Hurry: Temporary Input via the On-Screen Keyboard
Even if the keyboard isn't working, if your mouse is alive you can click the on-screen virtual keyboard to type characters. If you urgently need to type right now, use the method below first.
How to Turn It On in Windows
- Click the Start button at the bottom left of the screen, go to Settings → Accessibility → Keyboard, and turn on the 'On-Screen Keyboard' switch.
- If you can open the Run box, typing osk brings it up right away too.
- When you can't even log in because you can't type the password, click the accessibility (person-shaped) icon at the bottom right of the login screen and turn on the 'On-Screen Keyboard' to enter your password with the mouse.
How to Turn It On on a Mac
- Go to the Apple menu at the top left of the screen → System Settings → Accessibility → Keyboard and turn on 'On-Screen Keyboard' or 'Accessibility Keyboard'.
- If there's an input-source icon in the menu bar, you can also select 'Show Keyboard Viewer' there.
Once you've secured a temporary means of input this way, moving on to the cause-by-cause checks below keeps you from feeling rushed.
The Most Common Causes and a 30-Second Check
A good share of USB-keyboard-not-recognized problems are on the hardware-connection side. Check these in order, just 30 seconds each.
- Try a different USB port. On a desktop in particular, plug into the rear ports wired directly to the motherboard on the back of the case, rather than the front ports. Front ports often have unstable contact due to internal wiring issues.
- Connect directly to the PC without going through a USB hub, extension cable, or monitor port. A hub can't recognize the keyboard if it lacks power.
- Visually inspect the cable and connector. Look for dust or debris inside the connector and for any spot where the cable is bent or pinched. Clean the terminal with a dry brush or air and plug it back in.
- Test on another device. Connect the same keyboard to another PC or laptop. If it fails there too, the keyboard itself is broken; if it works, the problem narrows to the settings or drivers on the original PC.
- Check the light right after connecting. Seeing whether the Num Lock or Caps Lock lamp comes on even briefly tells you whether power is reaching it.
If this doesn't solve it, it's likely a software or settings problem.
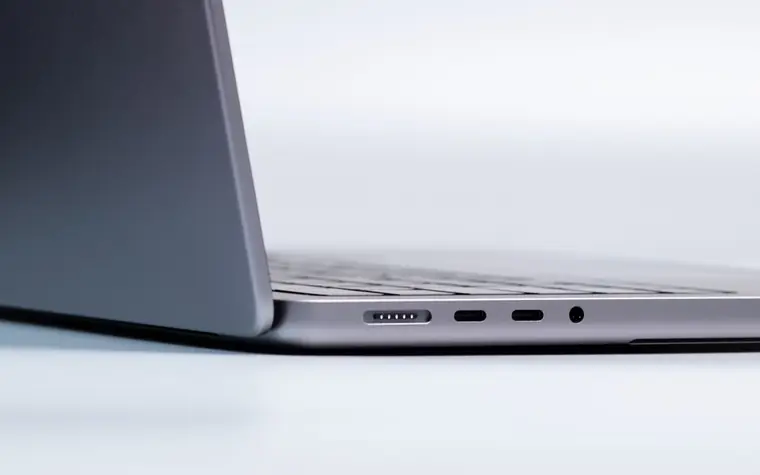
Fixing It with Windows Device Manager and Drivers
When the connection is fine but it isn't recognized, re-registering the driver often does the trick. Here, use the on-screen keyboard you turned on earlier or another keyboard you connected temporarily.
- Right-click the Start button → Device Manager to open it.
- Expand the Keyboards section and the Universal Serial Bus controllers (USB controllers) section. A yellow exclamation mark (!) or a down-arrow is a sign of trouble.
- Right-click the keyboard device in question, click Uninstall device, then reboot the computer. Windows automatically reinstalls the driver during boot.
- If it still fails after rebooting, click Action → Scan for hardware changes at the top of Device Manager.
- If there's a USB controller showing an exclamation mark, uninstall that item the same way and reboot to let it be re-registered.
If recognition keeps dropping even after reinstalling the driver, it's time to check the power management and BIOS settings below.
Checking BIOS and Power-Saving Settings
If Windows shuts off power to the USB port to save energy, or if it's set not to support USB in the early boot stage, the keyboard goes dead.
Turning Off USB Selective Suspend
- Go to Settings → System → Power, or in Control Panel Power Options → Change plan settings → Change advanced power settings.
- Find USB settings → USB selective suspend setting in the list and change it to Disabled.
- Additionally, unchecking 'Allow the computer to turn off this device to save power' in the Power Management tab of each USB controller's Properties in Device Manager prevents it from turning off on its own.
Enabling USB Legacy Support in BIOS/UEFI
- If you suspect a boot problem or the keyboard only fails at the early boot screen, press Del or F2 right after rebooting to enter BIOS/UEFI. This stage requires the USB keyboard to work, so try a wired keyboard if possible.
- In the Advanced or USB Configuration menu, set USB Legacy Support or XHCI Hand-off to Enabled.
- Save and exit after changing (usually F10). This setting lets you use the USB keyboard at the BIOS and boot-menu stages.
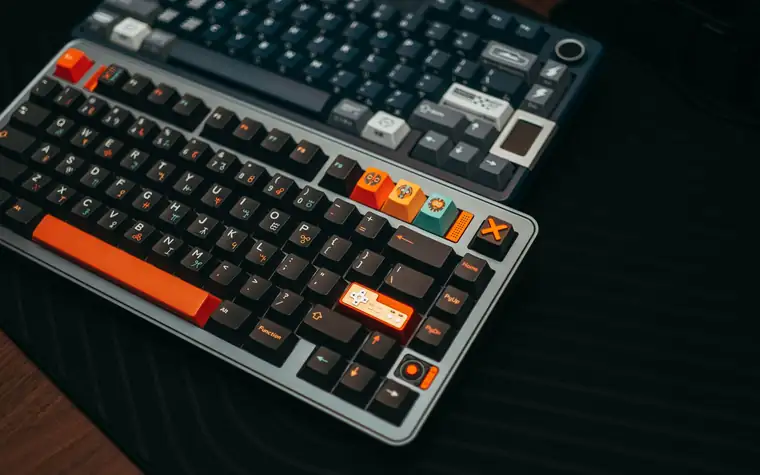
When a Wireless Keyboard Won't Work
Wireless (2.4GHz dongle or Bluetooth) keyboards have slightly different causes. Check the following in turn.
- Start by replacing or charging the battery. The most common cause of a dead wireless keyboard is a drained battery.
- Move the receiver dongle. Plugging the USB dongle into a deep port on the back of the case weakens the signal. Use a front port or a short USB extension cable to move it closer to the keyboard, and keep it away from the metal case and other wireless devices.
- Reset the pairing. For dongle types, press the Connect button on the bottom of the keyboard to reconnect; for Bluetooth types, delete the existing registration in Windows Settings → Bluetooth & devices or Mac System Settings → Bluetooth, then pair again.
- Check the power switch and sleep. The power switch on the side of the keyboard may be off, or it may have failed to wake from a power-saving state, so hold down any key for a few seconds.
Additional Points for Mac
- Restarting once via Apple menu → Restart often clears up recognition problems.
- When you connect a new keyboard for the first time, the 'Keyboard Setup Assistant' may appear and ask about the keyboard type, so follow the on-screen guidance.
- If you've connected an old PS/2-style keyboard to USB via a conversion adapter, some adapters aren't recognized on a Mac, so test with a genuine USB keyboard to isolate the cause.
Frequently Asked Questions (FAQ)
Q. The keyboard lights up but doesn't type.
Power is being supplied, but data isn't being recognized. First try a direct connection to another USB port and, in Device Manager, uninstalling the driver and rebooting. If it still fails, turn off USB selective suspend.
Q. It boots, but I can't type my login password.
Click the accessibility icon at the bottom right of the login screen to turn on the on-screen keyboard, enter the password with your mouse, and after logging in, proceed with the driver and settings checks above.
Q. The keyboard doesn't move at all on the BIOS screen.
This stage is unrelated to Windows drivers. Connect a wired keyboard directly to a rear port of the case, and if it still fails, check whether it works normally on another PC. Depending on the motherboard, only certain USB ports work at the BIOS stage.
Q. A keyboard that worked fine until just now suddenly doesn't.
If it's right after a Windows update or waking from sleep, it's likely a driver or power-management problem. Checking in the order of reboot → direct connection to a different port → driver reinstall in Device Manager recovers it in most cases.
All content is fact-checked under our editorial standards.